
Experimenting With Free Effects
by Lynn Wohlers
People can get pretty worked up about how much editing is appropriate to digital photography. There are the purists who perhaps take more time in their actual shooting of the photograph, to avoid having to make unnecessary digital adjustments. Purists have a point; we can be sloppy in our shooting, know that almost anything can be fixed in a photo editing program. But a bad photo is a bad photo, and no amount of editing will change that fact.
There’s no need to go overboard in either direction. I’m not a fan of the overdone HDR look nor other heavy-handed processing techniques. On the other hand, I have benefited greatly from image processing programs. For example, to achieve fairly realistic effects, I may opt for lighter enhancement of my photos, utilizing such applications as Levels, Luminance, and Sharpening in Lightroom or Photoshop.
It’s also fun to move away from the realistic and play around with processing effects, as experimentation can looses up my creative vision. For the photo below, I used OnOne’s Perfect Effects 4, a free program you can download on the OnOne website (no, I’m not getting anything for this; I just think a free program that works well is good to share). I applied a texture called “Warm Concrete Subtle” to a photograph of the shadow of a leaf that was skeletonized by insects:

OnOne’s Perfect Effects 4 is really easy to use. Each time you want to make a change, you click “Add” and a new layer is created. Then you scroll through the effects for one you like, click on it, and there it is. If you don’t like it, just click “delete.” You can apply a variety of effects – and reverse them – without damaging your photo (the program automatically creates a working). So why not experiment?
Here’s the original. You’ll notice I cropped it a lot refocus on the shadow and texture:

The photo was taken with an older model Samsung phone and sent to my email, downloaded, then mported to Lightroom. In Lightroom I right-clicked on the image to “Edit in Perfect Effects 4.” It’s a fairly quick approach, with just minutes between taking a picture and having a final image.
Although I prefer to keep my photos organized in Lightroom, you can just click on the Perfect Effects Program and open up your photo there – even faster!
In the next photo, I applied a strong vignette called “Dark Glow Vignette” and a “True Film” effect called “Colorchrome” that tweaks the colors and contrast to lend photos a look reminiscent of slide film.
By moving a slider, each effect or adjustment can be applied at various degrees, from one to 100 percent.

There are HDR, vintage, “movie” and monochrome effects such as black and white, sepia, red or green filters. There are adjustments for tonal skin improvements in portraits, for sharpening city photos, or for dramatizing that warm desert glow of deserts.
You can add borders to your images as well. In the photo below, I chose a rounded black border at 15% opacity, for a more shadowy or bevelled look. I also applied two vintage effects:

Here’s a photograph of fern fiddleheads I manipulated with a variety of effects, one called “Angel Glow”( applied twice, to heighten the effect); another, “Skin Smoother,” to exaggerate the smoothness; and two color-altering effects:

Below is the original. I do like the colors in the original, but it’s interesting to see how different an image can look when the color is completely changed.

Here’s a photo processed with a vintage effect called “Mayor” and a contrast adjustment:

The original:

“Tattered Paper Gray” texture, “Magic City,” “Brandon,” and a thin black border transform the atmosphere of this shot of snowy New York rooftops:

Here’s the original:

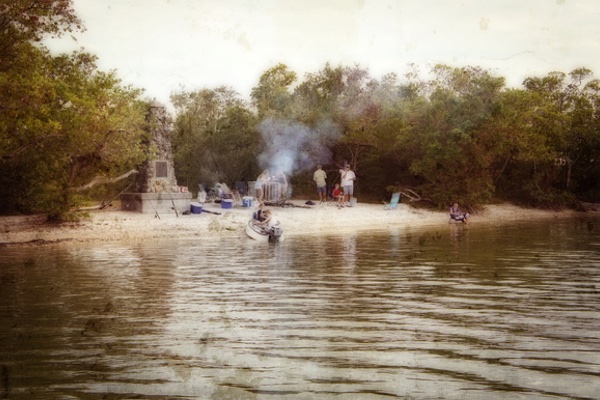
For the photo below I used the vintage effect “Robin,” the texture “Cool Concrete,” the glow effect “Orton Hears a Who,” and “Sloppy Border 4.″ Here’s the original:

In the photo below I used four effects and a border – two different “Glow” effects, a vignette and a vintage effect. The resulting image was too dark overall, so I chose to brush in highlights at 60% to parts of the tree and building. Many of the adjustments can be used selectively, on just a portion of the image. And it took less than 10 seconds to pick an adjustment and brush size, then to brush the image. If it’s not quite right, click on edit and “undo” and try again.

Here’s the original photo:

There are many free effects to be found on the web. Just Google “free photo effects” or “free textures.” What I like about this program though, is that it works with Photoshop and Lightroom, and it includes basic adjustments such as contrast or sharpening, along with effects – all in one place and all easy to apply.
These effects are clearly a matter of taste. Some of these results may not be for you. But maybe you’ll be encouraged to experiment with your own image processing. You might discover new ways to look at or think about your work. And many effects lend themselves to things like cards or books or T shirts or…well, ’tis the season! Maybe you’ll find some inspiration for a last minute gift.